Create a DCHost account and sign in to the customer portal
The DCHost customer portal is where you manage services, invoices and support tickets. This guide uses actual screenshots to show you how to create an account, verify your email address and sign in to an existing account.
Before you start: Make sure you can open your email inbox. Use your own details rather than copying the example account information in the screenshots. The instructions use the field and button labels shown in the portal.
Already have an account? Go straight to the sign-in steps.
1. Create your DCHost account
Open the DCHost customer portal. Check that the address bar shows portal.dchost.com. Select Create account at the top right or Create a free account below the sign-in form. Both links open the registration form.
Use your own name, an email address you can access and a new password.
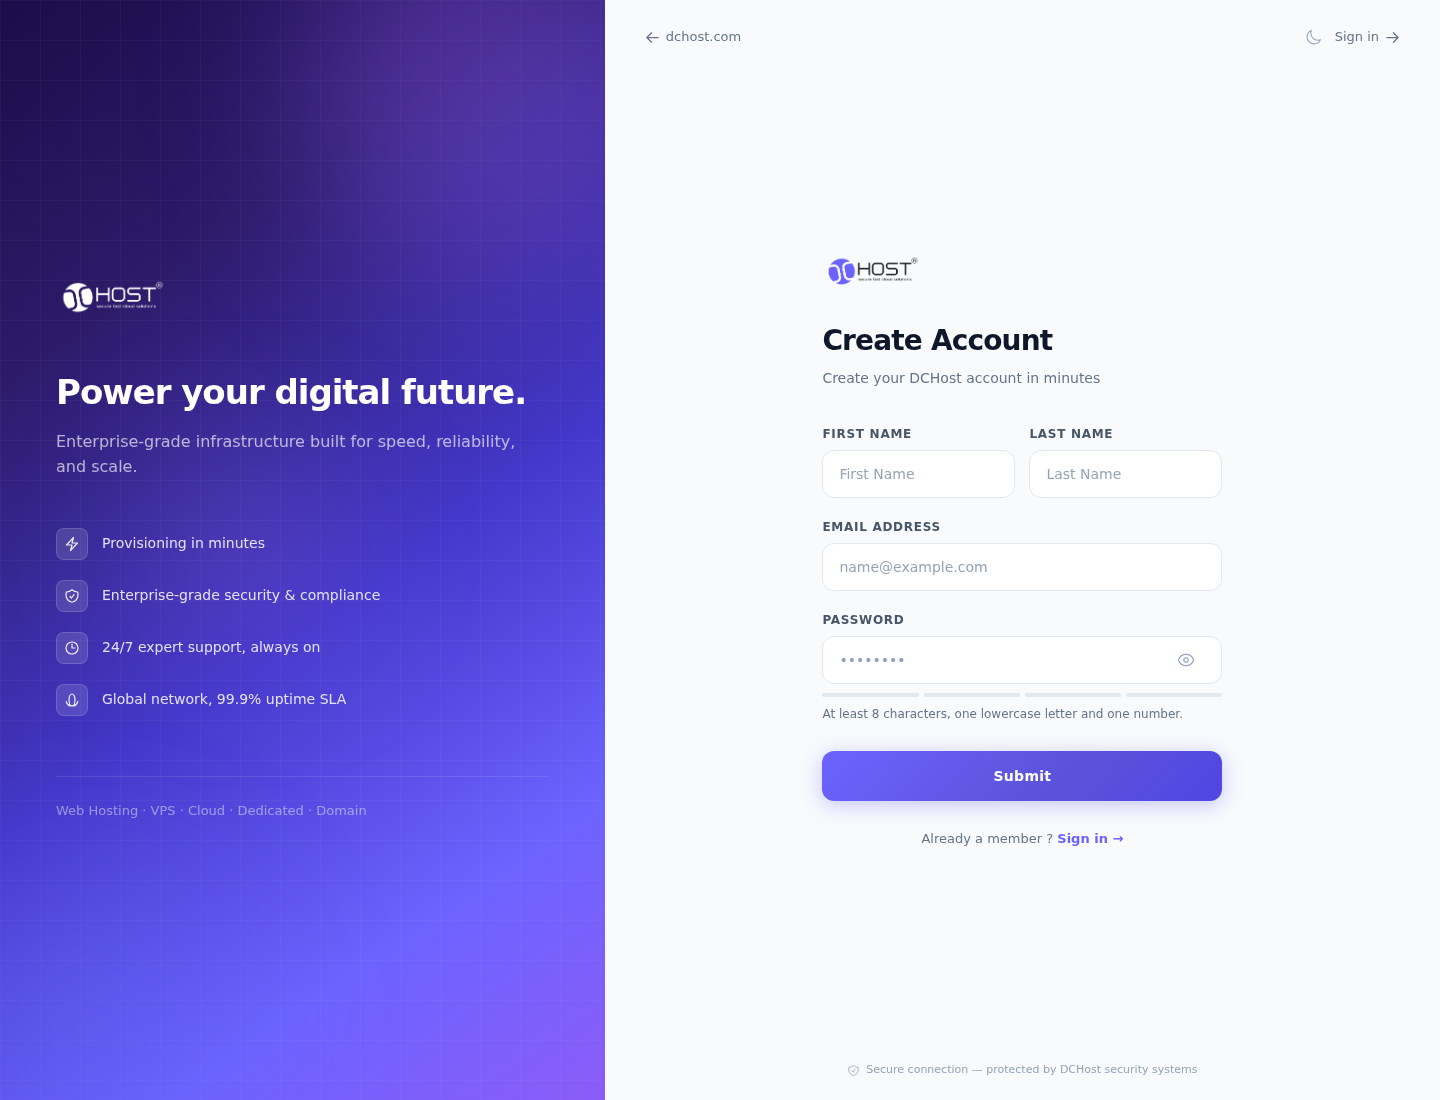
Step 1: Enter your name
- Enter your name
Enter your first name in FIRST NAME and your last name in LAST NAME.
- Enter your email address
Enter an address you use in EMAIL ADDRESS. You will need to read a code sent to this address in the next step.
- Choose an account password
Enter a password you use only for this account in PASSWORD. The form requires at least 8 characters, one lowercase letter and one number.
- Select Submit
After checking your details, select Submit once at the bottom of the form.
What you should see: The Email Verification screen opens when registration is accepted.
Check your email address for typing mistakes. Keep your password private; you do not need to send it to support.
Use FIRST NAME for your first name and LAST NAME for your last name. Enter an email address you can access in EMAIL ADDRESS. You will need to read a code sent to that address in the next step.
Choose a password you use only for this account and enter it in PASSWORD. The form requires at least 8 characters, one lowercase letter and one number. Check your details, then select Submit once.
What you should see: When registration is accepted, the Email Verification screen opens. Your registration has been received, but email verification is not complete yet.
If the registration form does not continue
Read the error shown on the screen. Check your email address and the password requirements. If you already created an account with this address, use the sign-in screen instead of registering again.
2. Verify your email address
Open your inbox in another tab or in your email app. Find the six-digit verification code in the message from DCHost. This code confirms that you can access the email address; it is not your account password.
Use the code from your inbox. Do not enter your account password here.
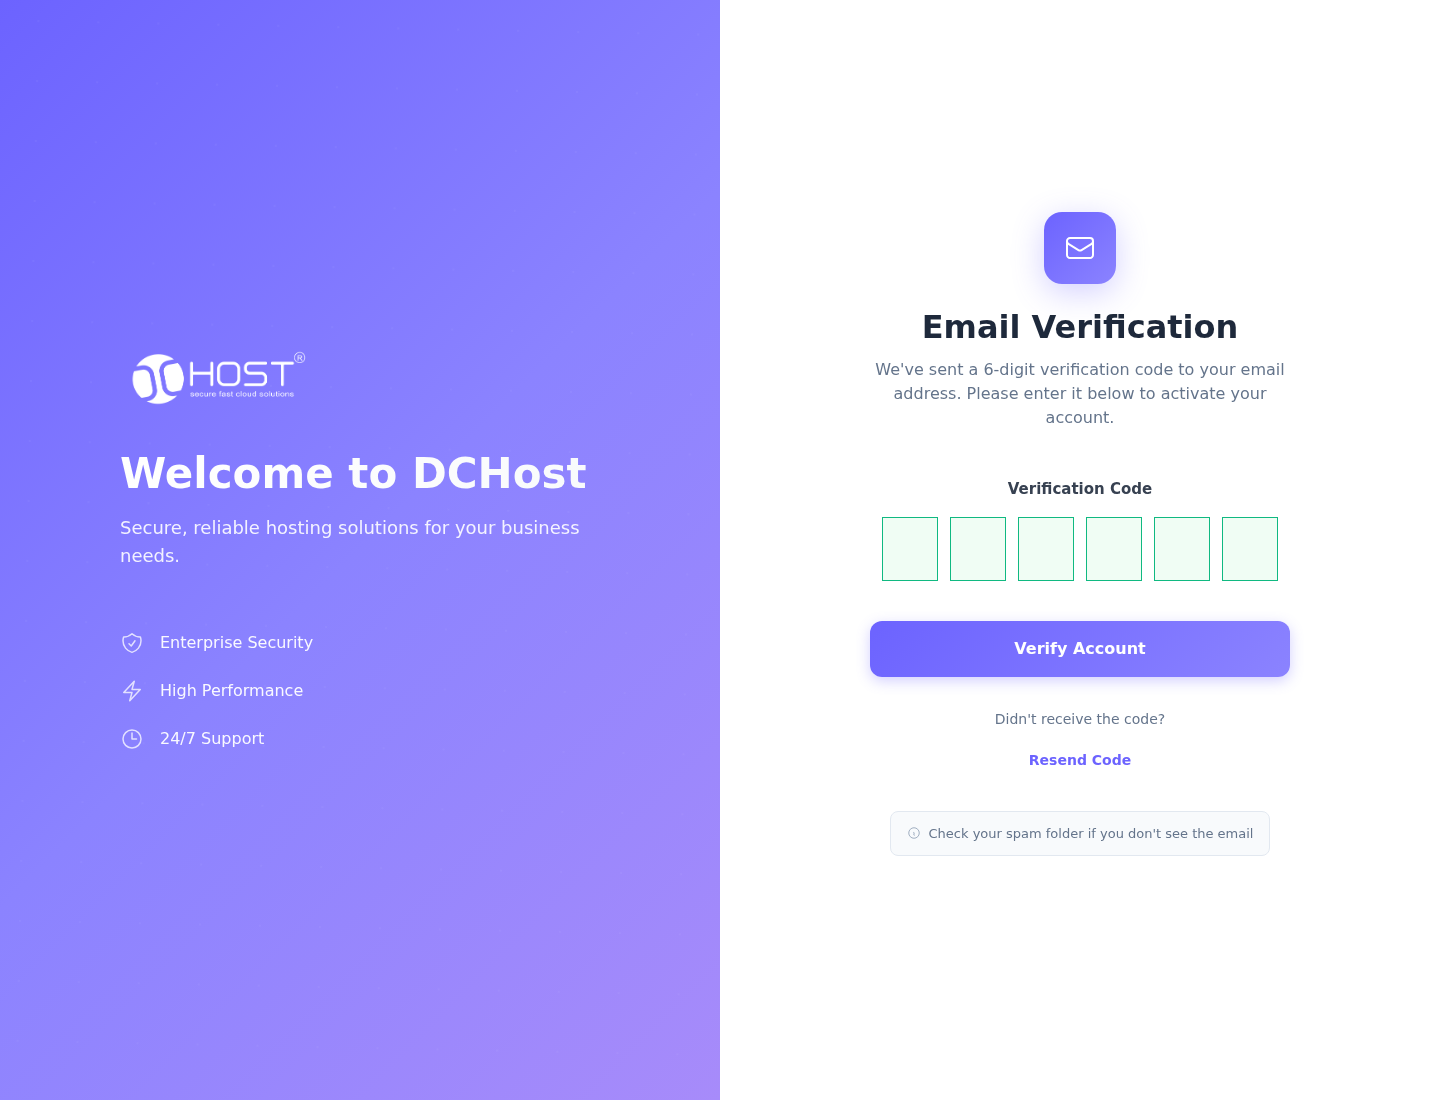
Step 1: Enter the code from left to right
- Enter the code from left to right
Enter the six digits from the email into the six boxes under Verification Code, in the same order. Each box takes one digit.
- Wait for verification to finish
Verification starts automatically after you enter the sixth digit. Wait while the button is loading. If it does not start, select Verify Account once.
What you should see: When the code is accepted, the verification screen closes and the customer portal dashboard opens.
- Request another code if it has not arrived
Check your spam or junk folder first. If the message is still missing, select Resend Code. Use the newest code you receive.
Enter the verification code only on this screen. Do not share your code or password in a support request.
Enter the code from left to right in the boxes under Verification Code, one digit per box. Verification may start automatically after the sixth digit. Wait if the button is loading. If verification does not start, select Verify Account.
What you should see: When the code is accepted, the verification screen closes and the customer portal dashboard opens.
If the code does not arrive or is not accepted
- No message: Check your spam or junk folder. If you cannot find it, use Resend Code to request another code.
- Code not accepted: Check the six digits in the email and read the error on the screen. If you requested another code, use the new message; do not guess codes.
- Still having trouble: Note which step you reached and the error you see. Do not include your verification code or password in a support ticket.
3. Sign in to an existing customer account
Open the customer sign-in screen. Enter your registered email address in EMAIL ADDRESS and your DCHost customer account password in PASSWORD. Then select Sign In.
Use the email address and password you chose when creating your account.
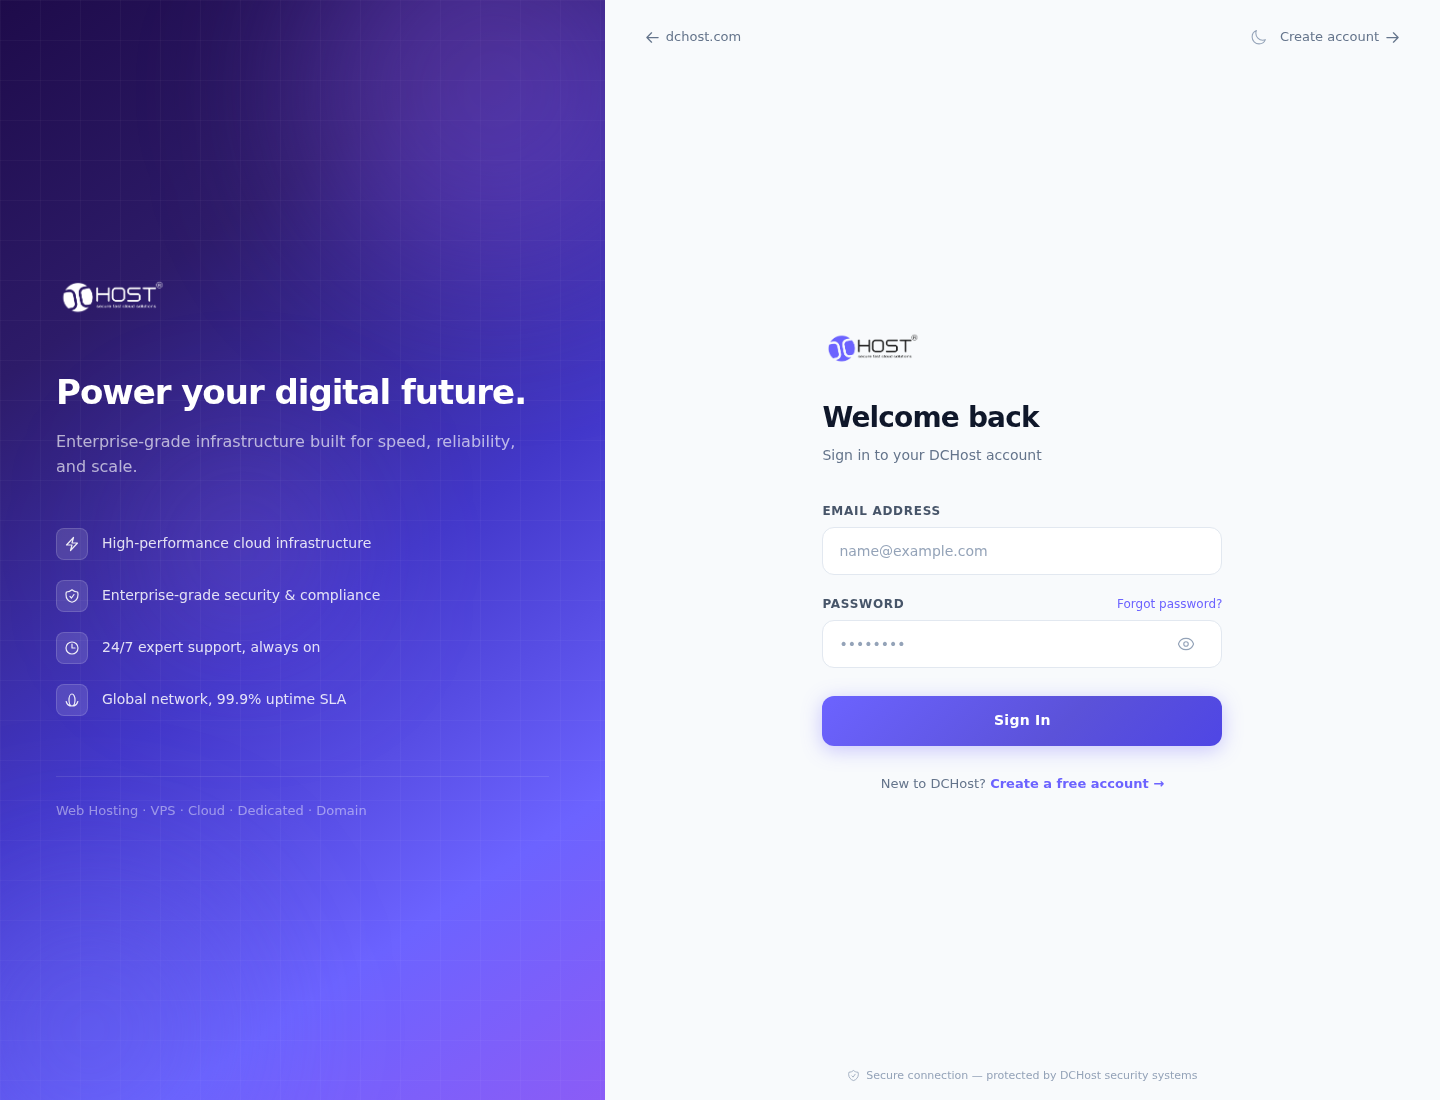
Step 1: Enter your registered email address
- Enter your registered email address
Enter the email address you used to create your DCHost account in EMAIL ADDRESS.
- Enter your customer account password
Enter your DCHost customer account password in PASSWORD. Your hosting control panel may use a different password.
- Select Sign In
Select Sign In below the form. If the screen shows an error, read the message before trying again.
If you cannot remember your password, use Forgot password? next to PASSWORD. Do not create a second account to access the same service.
If your email address is not verified, the Email Verification screen may appear after sign-in. Complete email verification first.
If you cannot remember your password
Select Forgot password? next to the password field. Use this link for password recovery rather than creating a second account to access the same service.
If your hosting panel password does not work here
The DCHost customer portal and your hosting control panel are different screens. The portal is for your account, invoices and support; the hosting panel is for website files, databases and email. They may use different sign-in details. See the control panel guide for more information.
4. Check the difference between an account and a ready service
A new account can have an empty service list. Creating an account or verifying your email address does not automatically add hosting, a server or a domain. The new demo account used for this guide also started with no active services.
If you already purchased a service, check that you signed in with the email address used for the order. If you cannot find your service, review your order details before placing another order and gather the information described in the support request guide.
5. Continue with your service
- Hosting: Check service readiness and prepare your website.
- VPS or VDS: Follow the first Linux server connection steps.
- Domain connection: Learn what DNS records do and which ones to use.
- Need help: Prepare a support request with useful diagnostic information.